In this article, we’ll explore how to use Terraform to deploy a Cloud Run service on Google Cloud Platform (GCP) that runs U2Net, a powerful deep learning model for image background removal. This setup allows you to create a scalable, serverless solution for processing images with state-of-the-art AI technology.
This article builds upon the work of several talented developers and researchers:
- The original U2Net model and implementation were created by Xuebin Qin, Zichen Zhang, Chenyang Huang, Masood Dehghan, Osmar R. Zaiane and Martin Jagersand. Their repository can be found at https://github.com/xuebinqin/U-2-Net.
- The Flask web application for background removal was developed by Jeff Delaney (codediodeio) and is available at https://github.com/codediodeio/rembg-webapp-tutorial.
- The Rembg library, which provides an easy-to-use interface for background removal using U2Net, was created by Daniel Gatis. The project can be found at https://github.com/danielgatis/rembg.
I have extended their work by:
- Adding Terraform code to easily deploy the U2Net model on Google Cloud Run
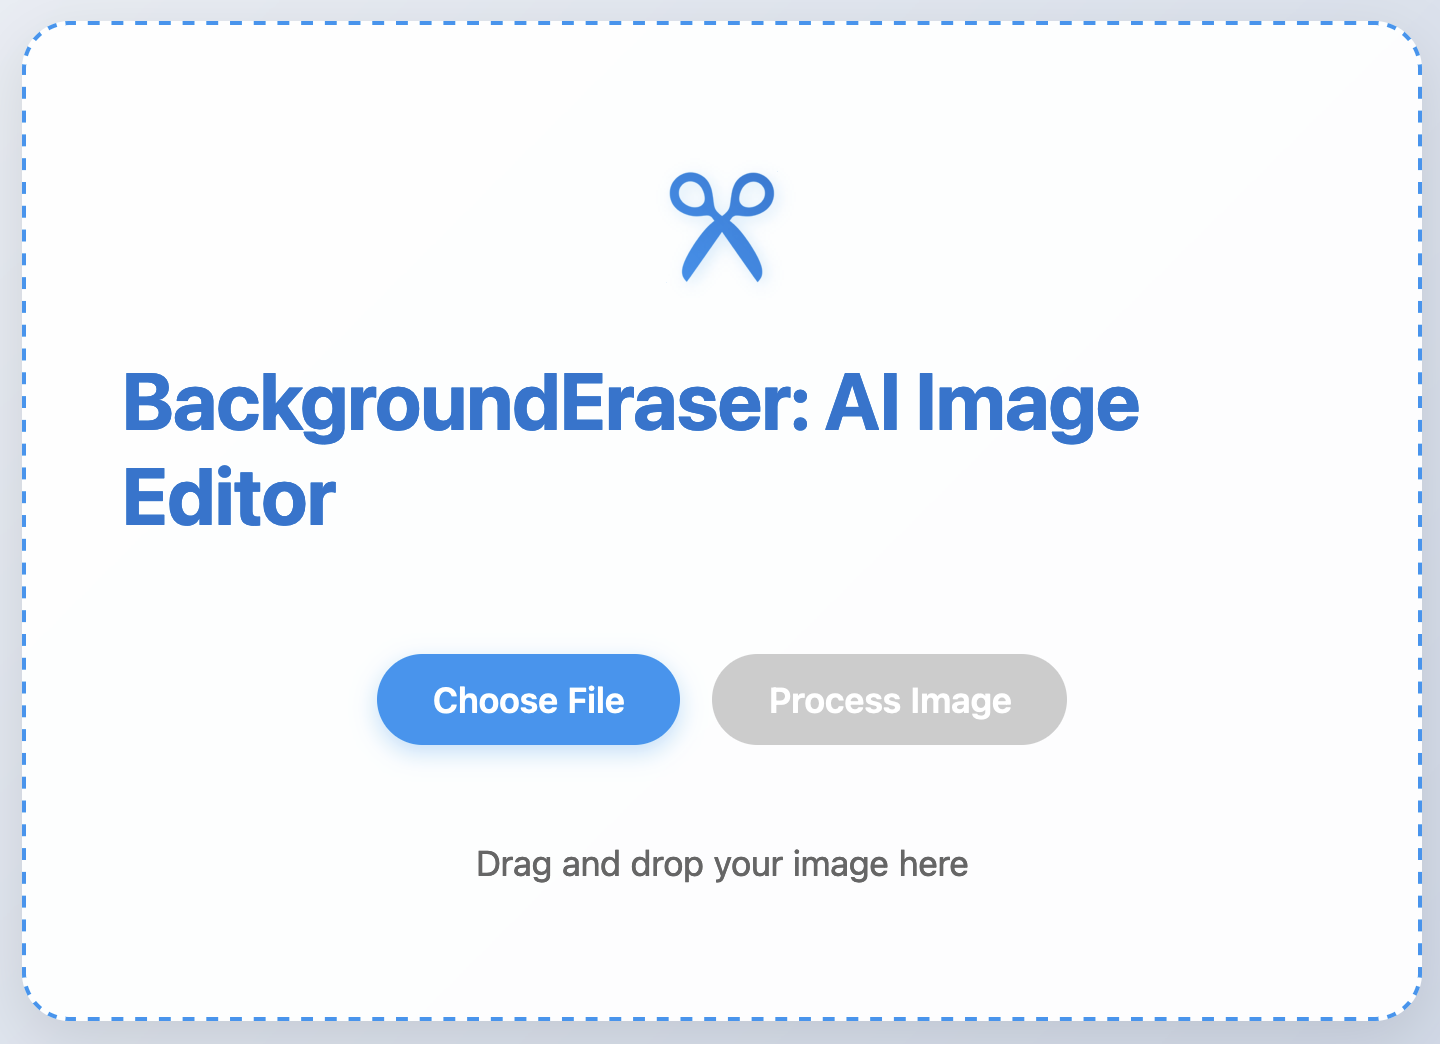
- Cleaning up the UI of Jeff Delaney’s Flask application for a better user experience
- Integrating these components into a cohesive solution for serverless background removal
I’ve fronted the Cloud Run service with Firebase. This allows for mapping a custom domain to the application. For the sake of simplicity I am not including the details for this Firebase integration.
Understanding U2Net Link to heading
U2Net is a convolutional neural network architecture designed for salient object detection and image segmentation tasks. It’s particularly effective for background removal in images, making it a popular choice for various image processing applications.
Overview of the Architecture Link to heading
The architecture consists of several components:
- Google Cloud Project: This is the foundation where all resources will be created.
- Artifact Registry: A repository to store Docker images.
- Cloud Run: A fully managed compute platform that automatically scales your containerized applications.
- Service Account: A Google Cloud identity that allows your application to interact with other Google Cloud services securely.
Prerequisites Link to heading
Before you begin, ensure you have the following:
- A Google Cloud account.
- The Google Cloud SDK installed and configured.
- Terraform installed on your local machine.
Preparing the Docker Image Link to heading
Before we dive into the Terraform configuration, it’s important to note that you’ll need to build and upload your Docker image to Google Cloud’s Artifact Registry repository. This step is performed outside of the Terraform code. Ensure that your Dockerfile includes all necessary dependencies, the U2Net model, and the Flask application.
Once your Docker image is built, push it to your Artifact Registry repository. The image URL in the Terraform code should reference this uploaded image.
The code for the app & terraform can be found in this repository https://github.com/guri-s/rembg-webapp
Step-by-Step Guide Link to heading
1. Define Your Variables Link to heading
Create a variables.tf file to define the necessary variables for your project:
variable "project_name" {
  description = "The name of the GCP project"
  type        = string
}

variable "project_id" {
  description = "The ID of the GCP project"
  type        = string
}

variable "billing_account_id" {
  description = "The billing account ID"
  type        = string
}

variable "org_id" {
  description = "The organization ID"
  type        = string
}

variable "region" {
  description = "The region for the resources"
  type        = string
}

variable "repository_id" {
  description = "The ID of the Artifact Registry repository"
  type        = string
}

variable "docker_image_name" {
  description = "The name of the Docker image"
  type        = string
}

variable "docker_image_tag" {
  description = "The tag for the Docker image"
  type        = string
}

variable "service_account_id" {
  description = "The ID of the service account"
  type        = string
}

variable "google_cloud_run_service_name" {
  description = "The name of the Cloud Run service"
  type        = string
}
2. Create the Google Cloud Project Link to heading
In your main.tf file, start by creating a new Google Cloud project:
resource "google_project" "rembg_project" {
  name            = var.project_name
  project_id      = var.project_id
  billing_account = var.billing_account_id
  org_id          = var.org_id
}
3. Enable Required APIs Link to heading
Next, enable the necessary APIs for your project:
resource "google_project_service" "cloud_run_api" {
  project = google_project.rembg_project.project_id
  service = "run.googleapis.com"
  disable_dependent_services = true
}

resource "google_project_service" "artifact_registry_api" {
  project = google_project.rembg_project.project_id
  service = "artifactregistry.googleapis.com"
  disable_dependent_services = true
}
4. Create the Artifact Registry Repository Link to heading
Define the Artifact Registry repository to store your Docker images:
resource "google_artifact_registry_repository" "repo" {
  project                = google_project.rembg_project.project_id
  location               = var.region
  repository_id          = var.repository_id
  description            = "Docker repository for rembg images"
  cleanup_policy_dry_run = true
  format                 = "DOCKER"
}
5. Create the Cloud Run Service Link to heading
Define the Cloud Run service that will handle the background removal requests:
resource "google_cloud_run_service" "rembg_service" {
  autogenerate_revision_name = false
  location                   = var.region
  name                       = var.google_cloud_run_service_name
  project                    = var.project_id

  template {
    spec {
      container_concurrency = 80
      service_account_name  = google_service_account.service_account.email
      timeout_seconds       = 300

      containers {
        args    = []
        command = []
        image   = var.docker_image_tag
        name    = var.docker_image_name

        ports {
          container_port = 5100
          name           = "http1"
        }

        resources {
          limits = {
            "cpu"    = "2000m"
            "memory" = "2Gi"
          }
        }
      }
    }
  }

  traffic {
    latest_revision = true
    percent         = 100
  }

  depends_on = [
    google_project_service.cloud_run_api
  ]
}
6. Create the Service Account Link to heading
Define a service account that the Cloud Run service will use:
resource "google_service_account" "service_account" {
  account_id   = var.service_account_id
  display_name = "Service Account"
}
7. Grant Public Access Link to heading
Finally, grant public access to the Cloud Run service so that users can invoke it:
resource "google_cloud_run_service_iam_member" "public_access" {
  location = var.region
  project  = google_project.rembg_project.project_id
  service  = google_cloud_run_service.rembg_service.name
  role     = "roles/run.invoker"
  member   = "allUsers"

  depends_on = [
    google_cloud_run_service.rembg_service,
    google_service_account.service_account
  ]
}
Deploying the Infrastructure Link to heading
Once you have defined all the resources in your Terraform files, you can deploy the infrastructure:
-
Initialize Terraform:
terraform init -
Plan the Deployment:
terraform plan -
Apply the Configuration:
terraform apply
Conclusion Link to heading
By following the steps outlined in this article, you can successfully create a Cloud Run service for removing backgrounds from images using AI. Terraform allows you to manage your infrastructure as code, making it easier to maintain and scale your services. With this setup, you can leverage the power of Google Cloud to provide a robust and scalable background removal service.
If you are still reading, you can see a live demo of this application at https://rembg.sandhar.au. Please note that the app may take a while to start up since it’s not running on dedicated instances to keep costs low. The service will be available as long as it doesn’t exceed the free tier quota for Google Cloud Platform.